This post is the 1st part of a 2-part series on how to use the UART of Raspberry Pi for wireless communication.
This post is mainly about how to prepare the UART of Raspberry Pi. The Pi used is Raspberry Pi 1 Model B and the OS used is Raspbian Jessie.
For info. on the python environment, python serial, and the actual code, please refer to the post at
http://wei48221.blogspot.tw/2016/08/how-to-use-uart-of-raspberry-pi-for_30.html.
Raspberry Pi 1 Model B
Raspberry Pi 1 Model B Specs.
Raspberry Pi 1 Model B Pin Map (from Sparkfun)
Step 1 - Check to see if the UART pins (GPIO 14 and 15) are configured as serial console which outputs all the kernel data during boot.
Issue the command "dmesg | grep tty" and observe the output.
The line with red underline indicates that the UART is configured as serial console.
Note, if you are using Pi model 3 do not use /dev/ttyAMA0 because it's assigned to bluetooth, use /dev/ttyS0 instead.
Step 2 - Free up the UART Pins (GPIO 14, 15)
Run the configuration command and follow the instructions below
sudo raspi-config
Select "9 Advanced Options".
Select "A7 Serial".
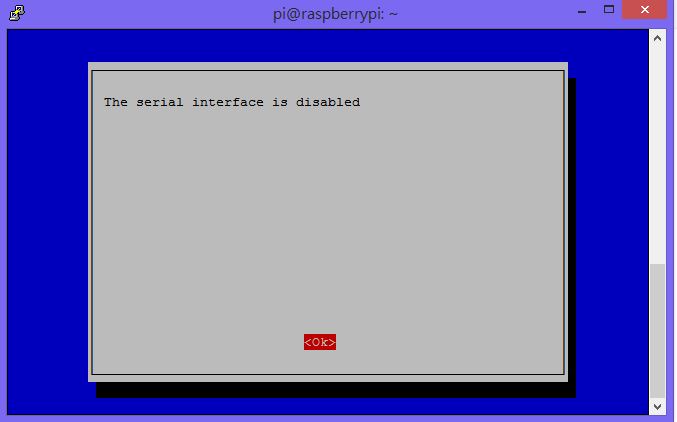
Select "No".
The serial interface is now disabled.
Select "<Finish>'.
Select <Yes> to reboot the system.
After the system is reboot, enter the command "dmesg | grep tty" to check whether the UART is no longer configured as serial console.
**IMPORTANT - for Raspbian Jessie - missing /dev/ttyAMA0**
When you disable the serial port for boot using raspi-config, the serial port is also disabled for ANY use. To fix this you MUST set "enable_uart=1" in /boot/config.txt.
This is really a bug in raspi-config.
/dev/ttyAMA0 is missing in the below output result after running "dmesg | grep tty" after system reboot.
Note, reference to this issue can be found at
https://www.raspberrypi.org/forums/viewtopic.php?f=66&t=151922.
How to set "enable_uart=1" in /boot/config.txt
First, issue "sudo nano /boot/config.txt"
Second, scroll down to find the line "enable_uart=0".
Third, change it to "enable_uart=1", followed by pressing Ctrl-X, followed by pressing Y to save the change and exit the nano editor.
Fourth, issue the "sudo reboot" command to reboot the system.
Fifth, issue the "dmesg | grep tty" command to check for the presence of /dev/ttyAMA0.
From the output result below it's clear that ttyAMA0 is now available and we could move on to the next step.
Step 3 - Verify whether the Pi could send and receive UART data by installing the tool Minicom.
First, install Minicom.
sudo apt-get update
sudo apt-get install minicom
Second, short the Rx and Tx pins on Pi (GPIO 14 and 15) so that it will receive the same data as it transmits.
Third, launch Minicom by issuing the command "minicom -b 115200 -o -D /dev/ttyAMA0". Where, 115200 is the baud rate, ttyAMA0 is the port.
Press Ctrl-A, then Z to bring up the menu. Press E to enable or disable local echo.
When local echo is enabled, you will see 2 identical characters when pressing any key on the keyboard. This mean the UART is working correctly.
References:
Raspberry Pi Serial Communication: What, Why, and a Touch of How
https://jeffskinnerbox.wordpress.com/2012/12/05/raspberry-pi-serial-communication/
Raspberry GPIO
https://learn.sparkfun.com/tutorials/raspberry-gpio
Identifying Your Model of Raspberry Pi
https://www.element14.com/community/docs/DOC-78141/l/identifying-your-model-of-raspberry-pi
Read and write from serial port with Raspberry Pi
http://www.instructables.com/id/Read-and-write-from-serial-port-with-Raspberry-Pi/
Blog of Wolfgang Klenk
https://wolfgangklenk.wordpress.com/
Using UART on Raspberry Pi – Python <-- ***Good Read!!***
https://electrosome.com/uart-raspberry-pi-python/
Using the GPIO Serial port ttyAMA0
https://www.raspberrypi.org/forums/viewtopic.php?f=44&t=17360
Using the UART
http://www.raspberry-projects.com/pi/programming-in-c/uart-serial-port/using-the-uart